
Every website goes through some updates from time to time. Many times, this is done by using the staging mode and then releasing it live to the public. Sometimes, it isn’t that straightforward, and you may need to push changes from staging mode to live. Here we will discuss how to push WordPress changes from staging to live so that anything new found in the development and staging environments will appear in the live environment.
What To Do Before Pushing WordPress Changes From Staging To Live?
Before you push your changes live, there are a few mandatory things you need to do;
1. Backup Your Site
The first thing you should do before pushing any kind of updates is to back up your site. This will ensure you are not losing any data and that the update process goes smoothly.
2. Test the Update in the Staging
We know that testing updates on staging servers is a pain, but it’s vital for making sure things work as expected when you push them live. You can simply test your WordPress website using the test option of the staging environment.
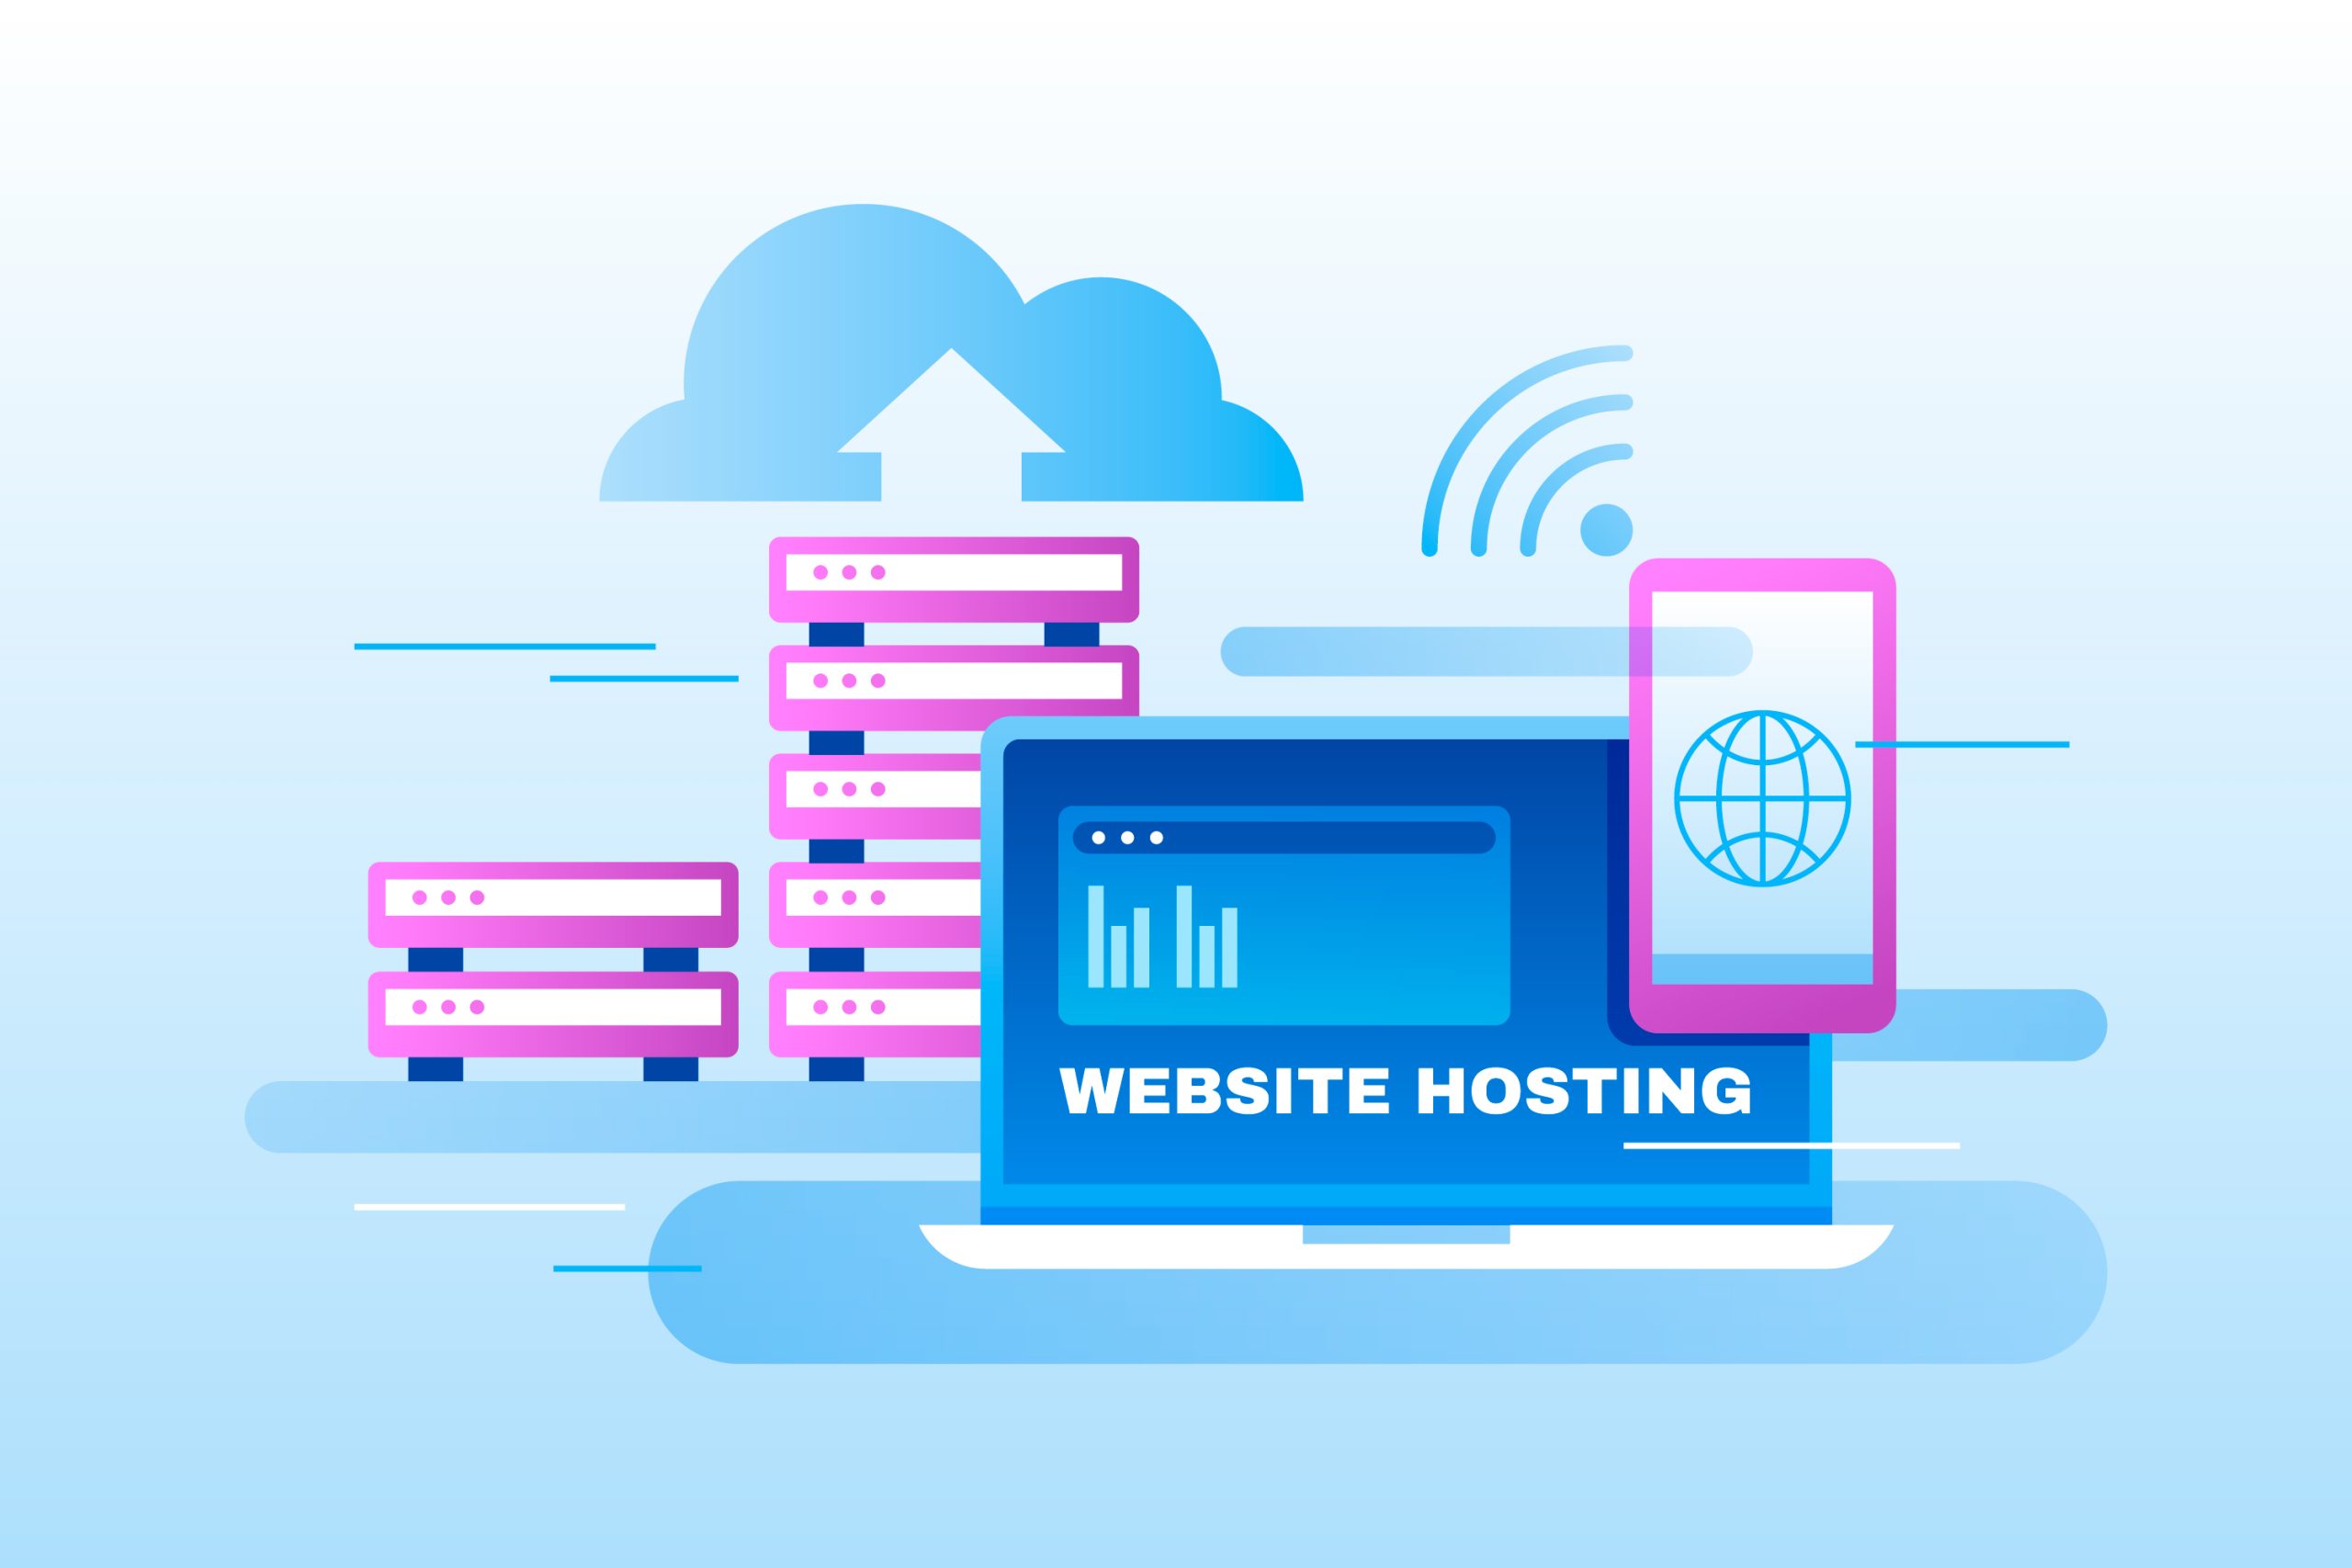
How To Push Your WordPress Changes From Staging To Live
One of the best things about a staging server is that it’s a way to test your changes before you push them live to the actual site. You can play with a lot of settings, experiment with themes, and see how things change completely. And, of course, if all is going well, you can push from staging to live without any danger. There are three ways in which you can sync your staging server with your live environment; we´ll go over some key points below, so you get a general idea of what each one does quite easily.
1. WP STAGING Plugin
The WP STAGING plugin is a WordPress development tool that helps you test and debugs your website. With this plugin, you can easily push changes from staging to live WordPress sites.
- The first step is to install the WP STAGING plugin on your local server or any FTP client you prefer. Once this is done, visit your WordPress dashboard and access Tools > WP STAGING to configure the plugin settings.
- Go through the Settings tab and set up your staging environment information like name, username, password, and database credentials. You can also decide whether you want to auto-upload database backup files or not by selecting this option under ‘Allow automatic database backup uploads’.
- After configuring all settings, click on the ‘Connect’ button at the bottom of the settings page and wait for a few seconds until the connection process completes successfully. Now you are ready to use the WP STAGING plugin for pushing live site data from staging to live site using an FTP connection.
- From the ‘Actions’ menu of the plugin, select the ‘Push changes’ option. A new window will pop up where you need to select all the required things from your website to push them live.
- Finally, confirm the Push changes to make your changes go live and wait some time to finish the process. Not to mention, you can also schedule an automatic update of your live site with current changes in your development environment using an additional setting inside this plugin.
2. FileZilla
This is the manual method of pushing your changes from staging to live. Here, you don’t need any additional tools or plugins. Use FileZilla as a file manager to just transfer staging site files to the live site. To manually push WordPress changes from staging to live using FileZilla, follow these steps:
1. First, you need to connect your staging site using FTP to FileZilla.
2. Navigate to the directory that you want to use for your next release. Copy all the files from that directory of your staging site.
3. Now, replace the staged files with the files of the live site. In this step, don’t forget that you shouldn’t replace unnecessary files. Any wrong replacement can result in making your website problematic.
4. Double-check if all the files of your staged site’s root directory are copied to the root directory of your live site. If it’s done, then a copy of your staged site is now set on your live site.
5. Finally, check for any issues on the live site directory from the WordPress dashboard and update the necessary plugins or tools. Now, your staged WordPress changes have become live.
3. Web Host
There are multiple web hosts available which can perform a push staging of your WordPress changes. If you are using a prominent web host, you can simply copy your staged copy in their directory and use it to push your site. So, after setting up your staging environment, it’s time to make it live.
- In the first step, you need to build a staging environment on your web host. This can be done using cPanel or Plesk, but most hosts allow you to create an account and add a domain directly through the website’s administration panel.
- Once your domain has been added, activate it by logging into the hosting service and adding a new line in the DNS zone file. The DNS zone file is usually located at /etc/hosts or /etc/resolv.conf on Unix-based systems and at C:\Windows\System32\Drivers\etc\hosts on Windows systems.
- After you’ve made sure that your domain is activated, copy the content of your staging environment folder (called “staging” in most cases) over to the root directory of your live web server. Look for any incompatibility issues among the files or folders. If not, your website is ready to go live.
- In the final stage, activate the necessary functions and turn on the live option from settings. You’ll find your WordPress changes live online.
What To Do After Pushing WordPress Changes From Staging To Live?
Once you’ve pushed WordPress changes to go live with your website, you need to take a few steps to check everything is right:
1. Make sure your site is fully functional in the live mode by making sure that all of the pages load correctly. Also, ensure that no broken links or 404 errors exist and that all of your CSS stylesheets are loaded properly. Otherwise, users won’t be able to access any of the content on your site.
2. Test out each page in different browsers so that you know it works properly on different devices (phones, tablets, desktops). You can also use tools like Google Analytics (GA) or WebPageTest (WPT) to test page speed as well as rendering speed while in different environments, such as work computers versus mobile devices.
3. One of the most common issues is that the live site doesn’t look like it was designed with the same themes or colors as it had in staging. If you’re using a theme or plugin that doesn’t support responsive design, then you should check if it supports custom CSS and/or JavaScript files in order to make sure your site looks exactly how it does in production. Unsupported elements in custom CSS can cause layout problems and other problems for your visitors (for example, unsupporting styles for <span> elements).
Frequently Asked Questions
Can I Use Selective Push For Staging WordPress To Live?
Yes, you can use selective push for staging WordPress to live. Rather, it’s a great way to see how your site will look on different devices and browsers without having to publish the site live. You can also use it to make sure that your site is ready for deployment when you do finally publish it.
Is It Possible To Push Changes of the WordPress Multisite Network To Live?
Yes, you can push changes of the WordPress multisite network to live if you are a member of the Network Admin role. Otherwise, you can’t push changes of the multisite network to live. You can only make changes on a local test server and then check if everything is OK before pushing changes to live. However, as an admin, you can use the FTP tool to push changes. The only thing that you need is an FTP client that supports SFTP and SSH protocol (like FileZilla).
How To Push WordPress Theme Changes From Staging To Live?
The process of pushing a theme from staging to live is a simple one. First, you have to make sure that all the changes made in the theme are ready and tested before pushing it to live. Another thing is that when you push your theme from staging to live, it should be done with the help of a staging server rather than a staging environment. If you use the same environment for both testing and live updates, then it may not work properly. Finally, you should take care of the version numbers when pushing your themes from staging to live since these have an impact on how they are displayed on your site.
Final Verdict
Having your site on staging gives you a place to experiment with new content and features that you can test before applying them to your live website. Therefore, this part is essential for keeping up with the latest trends and technology in the WordPress community. In this guide, we have covered the steps regarding how to make a scheduling push on a staging site with your live site so that you don’t have to check every time to see whether the changes have been made or not.