
Everyone loves it when their business stands out. This is true in all aspects, even in barely noticeable areas. For example, the color of the links on your website is really an important thing.
The themes that you install can already have different color schemes for links and all the other stuff. However, sometimes, they don’t match your brand’s color scheme. That’s when you need the change. In this post, I’m going to tell you how you can change link color in WordPress easily.
Change Link Color in WordPress
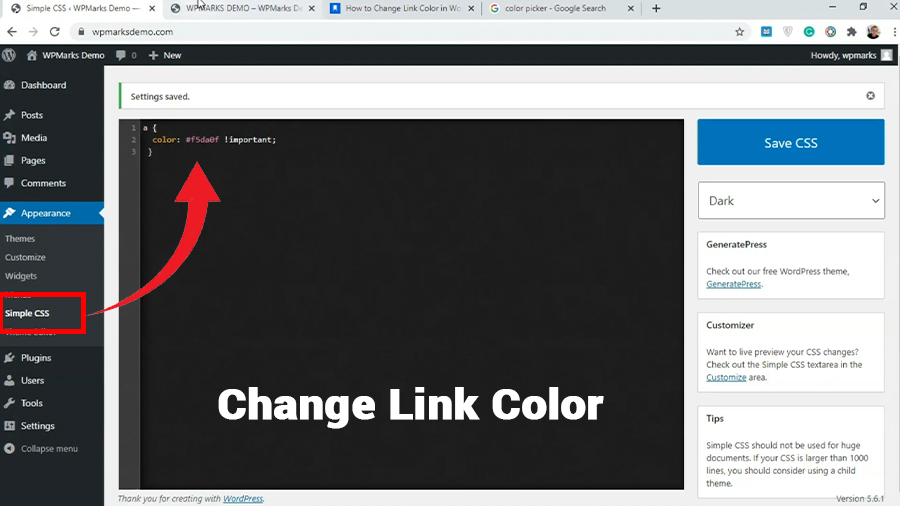
Changing link colors is fairly simple in WordPress. You can do it from the admin panel. The only “technical” part is that you need to do this by adding a custom CSS code. And some themes come with handy customization features that make the process easier.
CSS for Changing Link Color
Using CSS is the best method for changing color. It might sound intimidating if you don’t know how CSS works. But stay with me. It’s simple, I promise.
A theme will typically have a file named “style.css” in the theme folder. To access this, on the admin panel, click on Appearance > Customize > Additional CSS. Now you can add CSS codes in the box that appears.
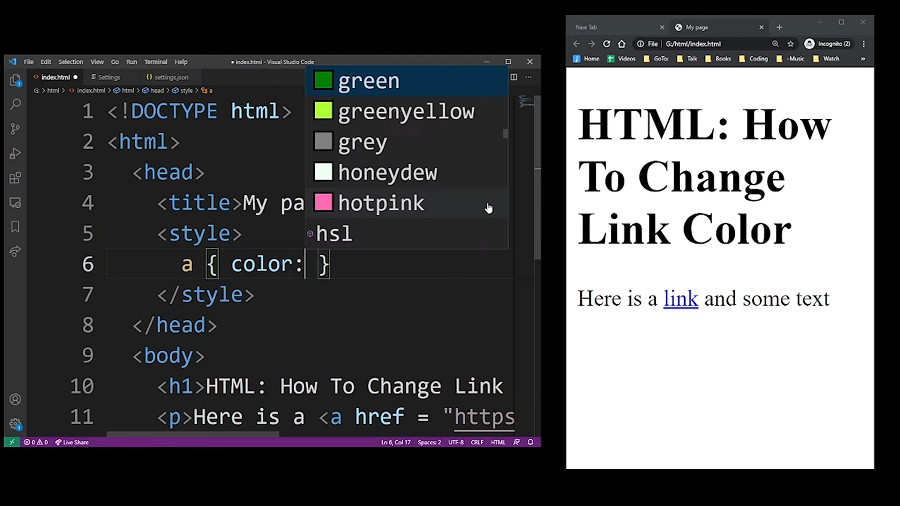
I’m giving you some CSS codes to change the colors of the links. In these examples, I’m using the color code #000000. You can use the HEX code of the color of your choice. You can easily find the code of a specific color here.
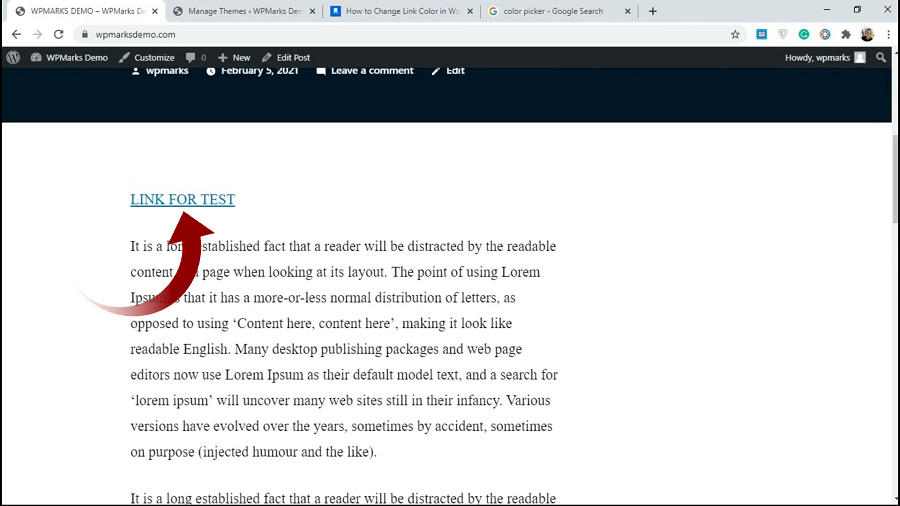
To change the link color in the first display, add this:
a:link{
text-decoration: none;
color: #000000;
}
If you want to change color when a visitor hovers the mouse over the link:
a:hover{
text-decoration: underline;
color: #000000;
}
If a visitor already visited a link, then change the color of that link:
a:visited{
text-decoration: none;
color: #000000;
}
In these lines, replace #000000 with the HEX code of your desired color. That’s it. You now have the new colors for your links.
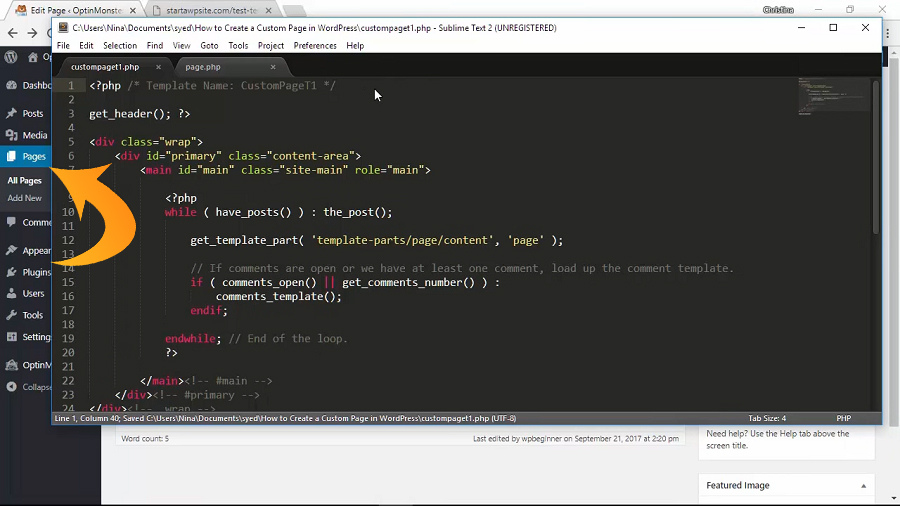
WordPress’s Customization Page
This is the easiest method. You go to the theme’s customization area and make the change. However, all themes may not have this. But we suggest you look for the ones with such features. It saves you from changing CSS code.
Go to Appearance > Customization and look for a link that says ‘Colors.’ Depending on the theme, it lets you change a bunch of things like background, header color, link color, etc.
If you see the option to change the link color, click on it. Again, depending on the theme, the color selector is going to vary. You may get a color wheel. There, drag to find the color, or put the HEX code of your desired color.
Wrapping Up
Both methods I’ve mentioned above are very easy to execute. If you’re worried about messing up CSS, it’s better to go with the second method. Most developers made customization easy for users.
However, if your theme doesn’t have the option to change the color of links, CSS is the option. Don’t worry at all! You won’t mess anything up. Just add the lines of code, and it’ll take effect. Just remember to check other elements after adding CSS code.